I created Infection with Team Hedgehog 🦔 through an intensive exploration of play and product design in MIT's Toy Product Design class (2.00B).
Fun fact: we actually started off with a completely different project idea at the beginning of our design process. It was during playtesting and iteration that the idea for Infection emerged, and our project became what it is today.
Gameplay
In Infection, there are two teams — red and blue. All players wear skeleton vests and start with four organs: one heart, two lungs, and one stomach.
Each player carries bacteria to throw at other players. When the bacteria strike another player's organ, the organ falls off their vest! To defend themselves, players must use their antibodies to block incoming bacteria.
A player is eliminated when all four of their organs (or their heart) have been knocked off their vest. A team wins when all the other team's players have been eliminated from the game.
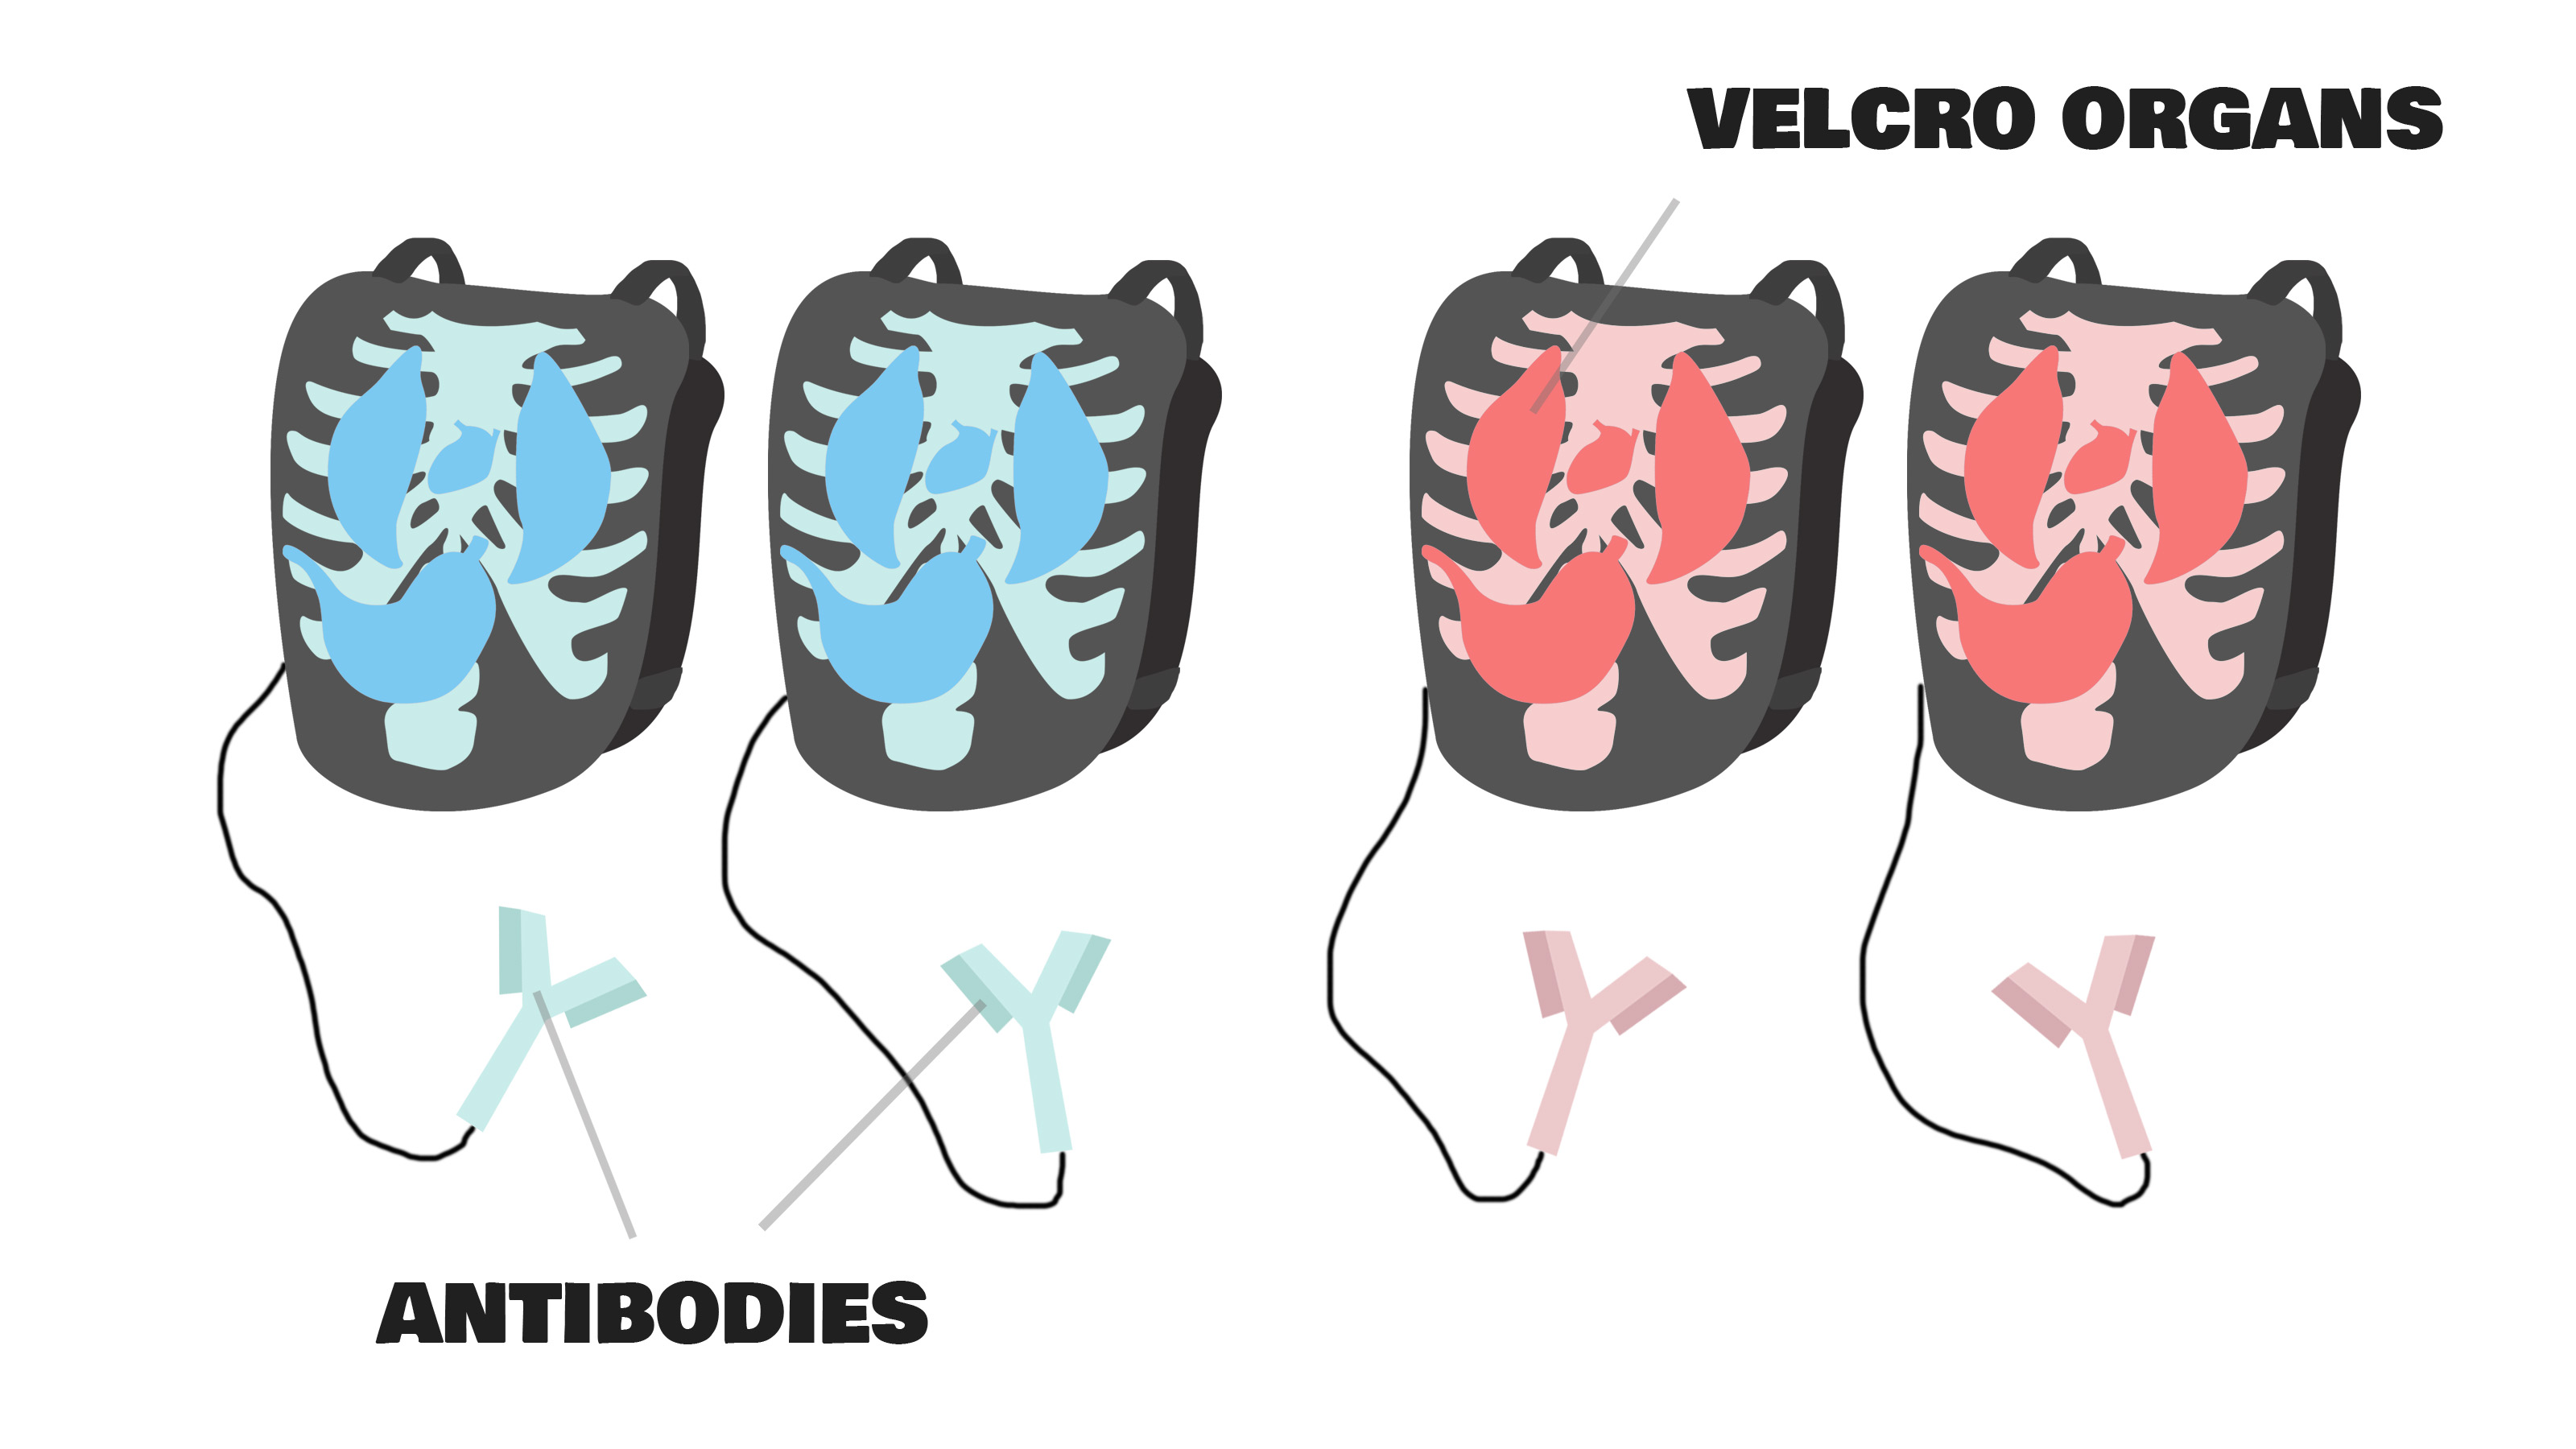
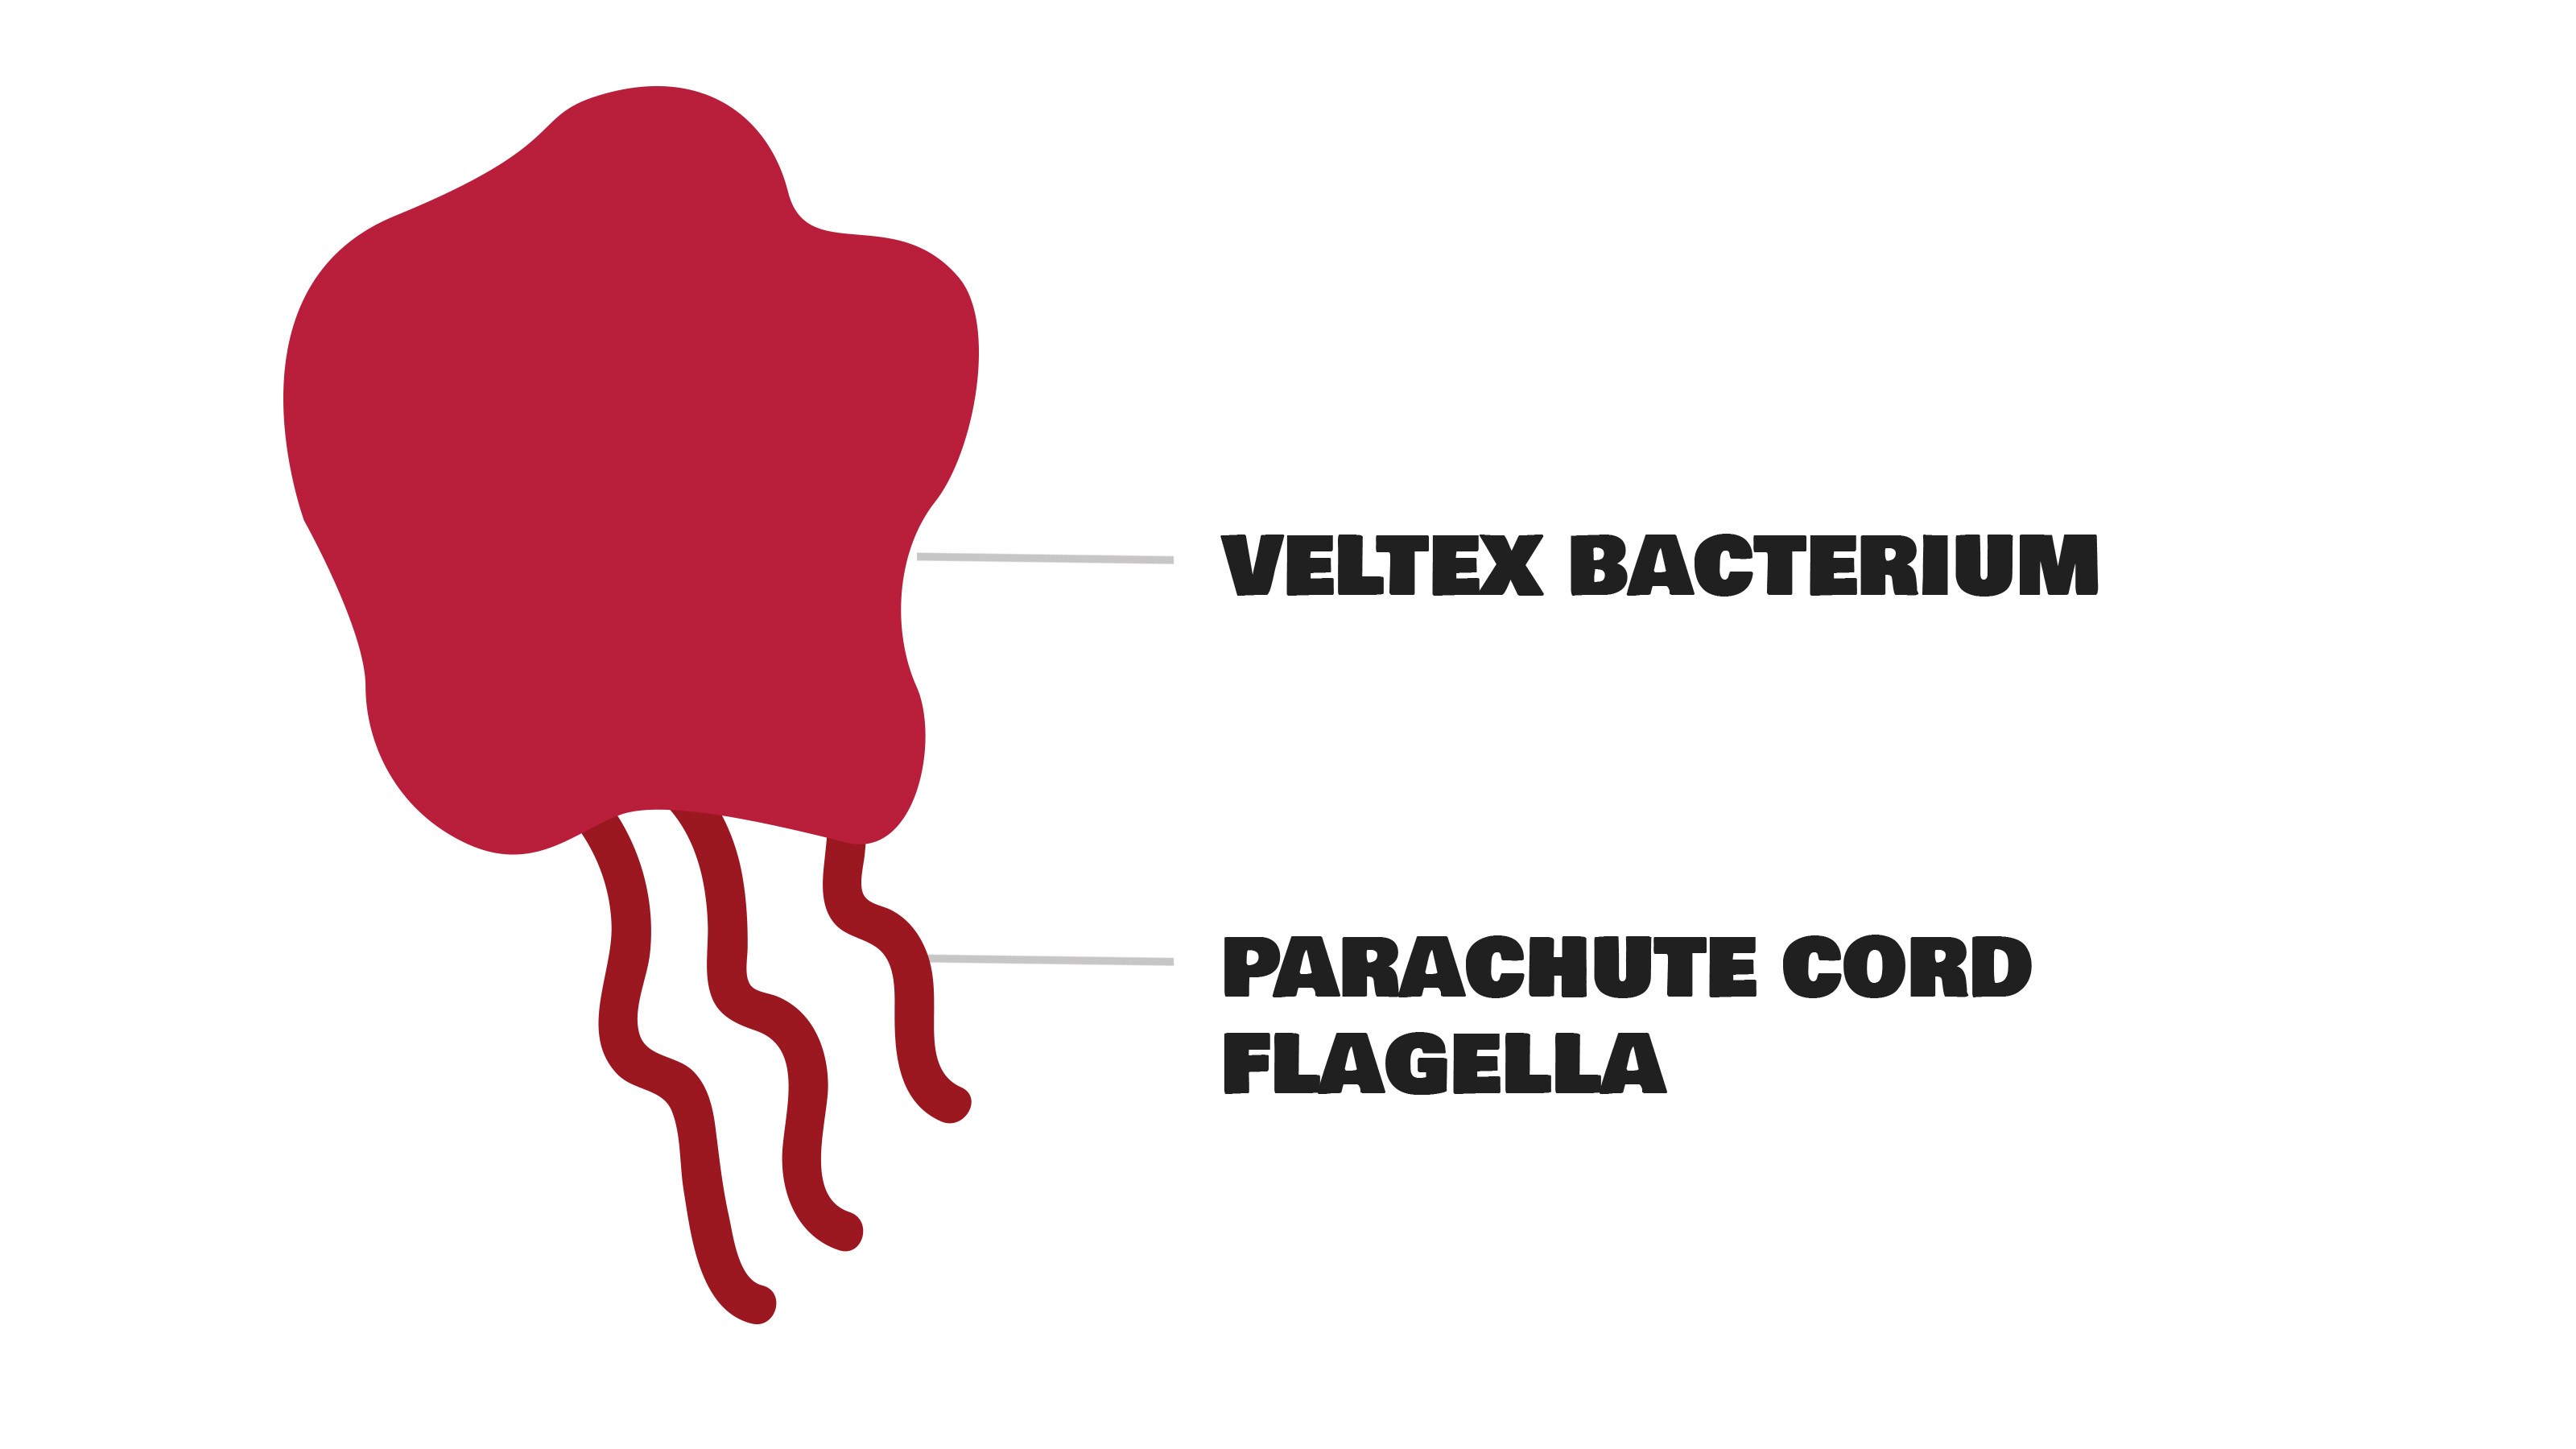
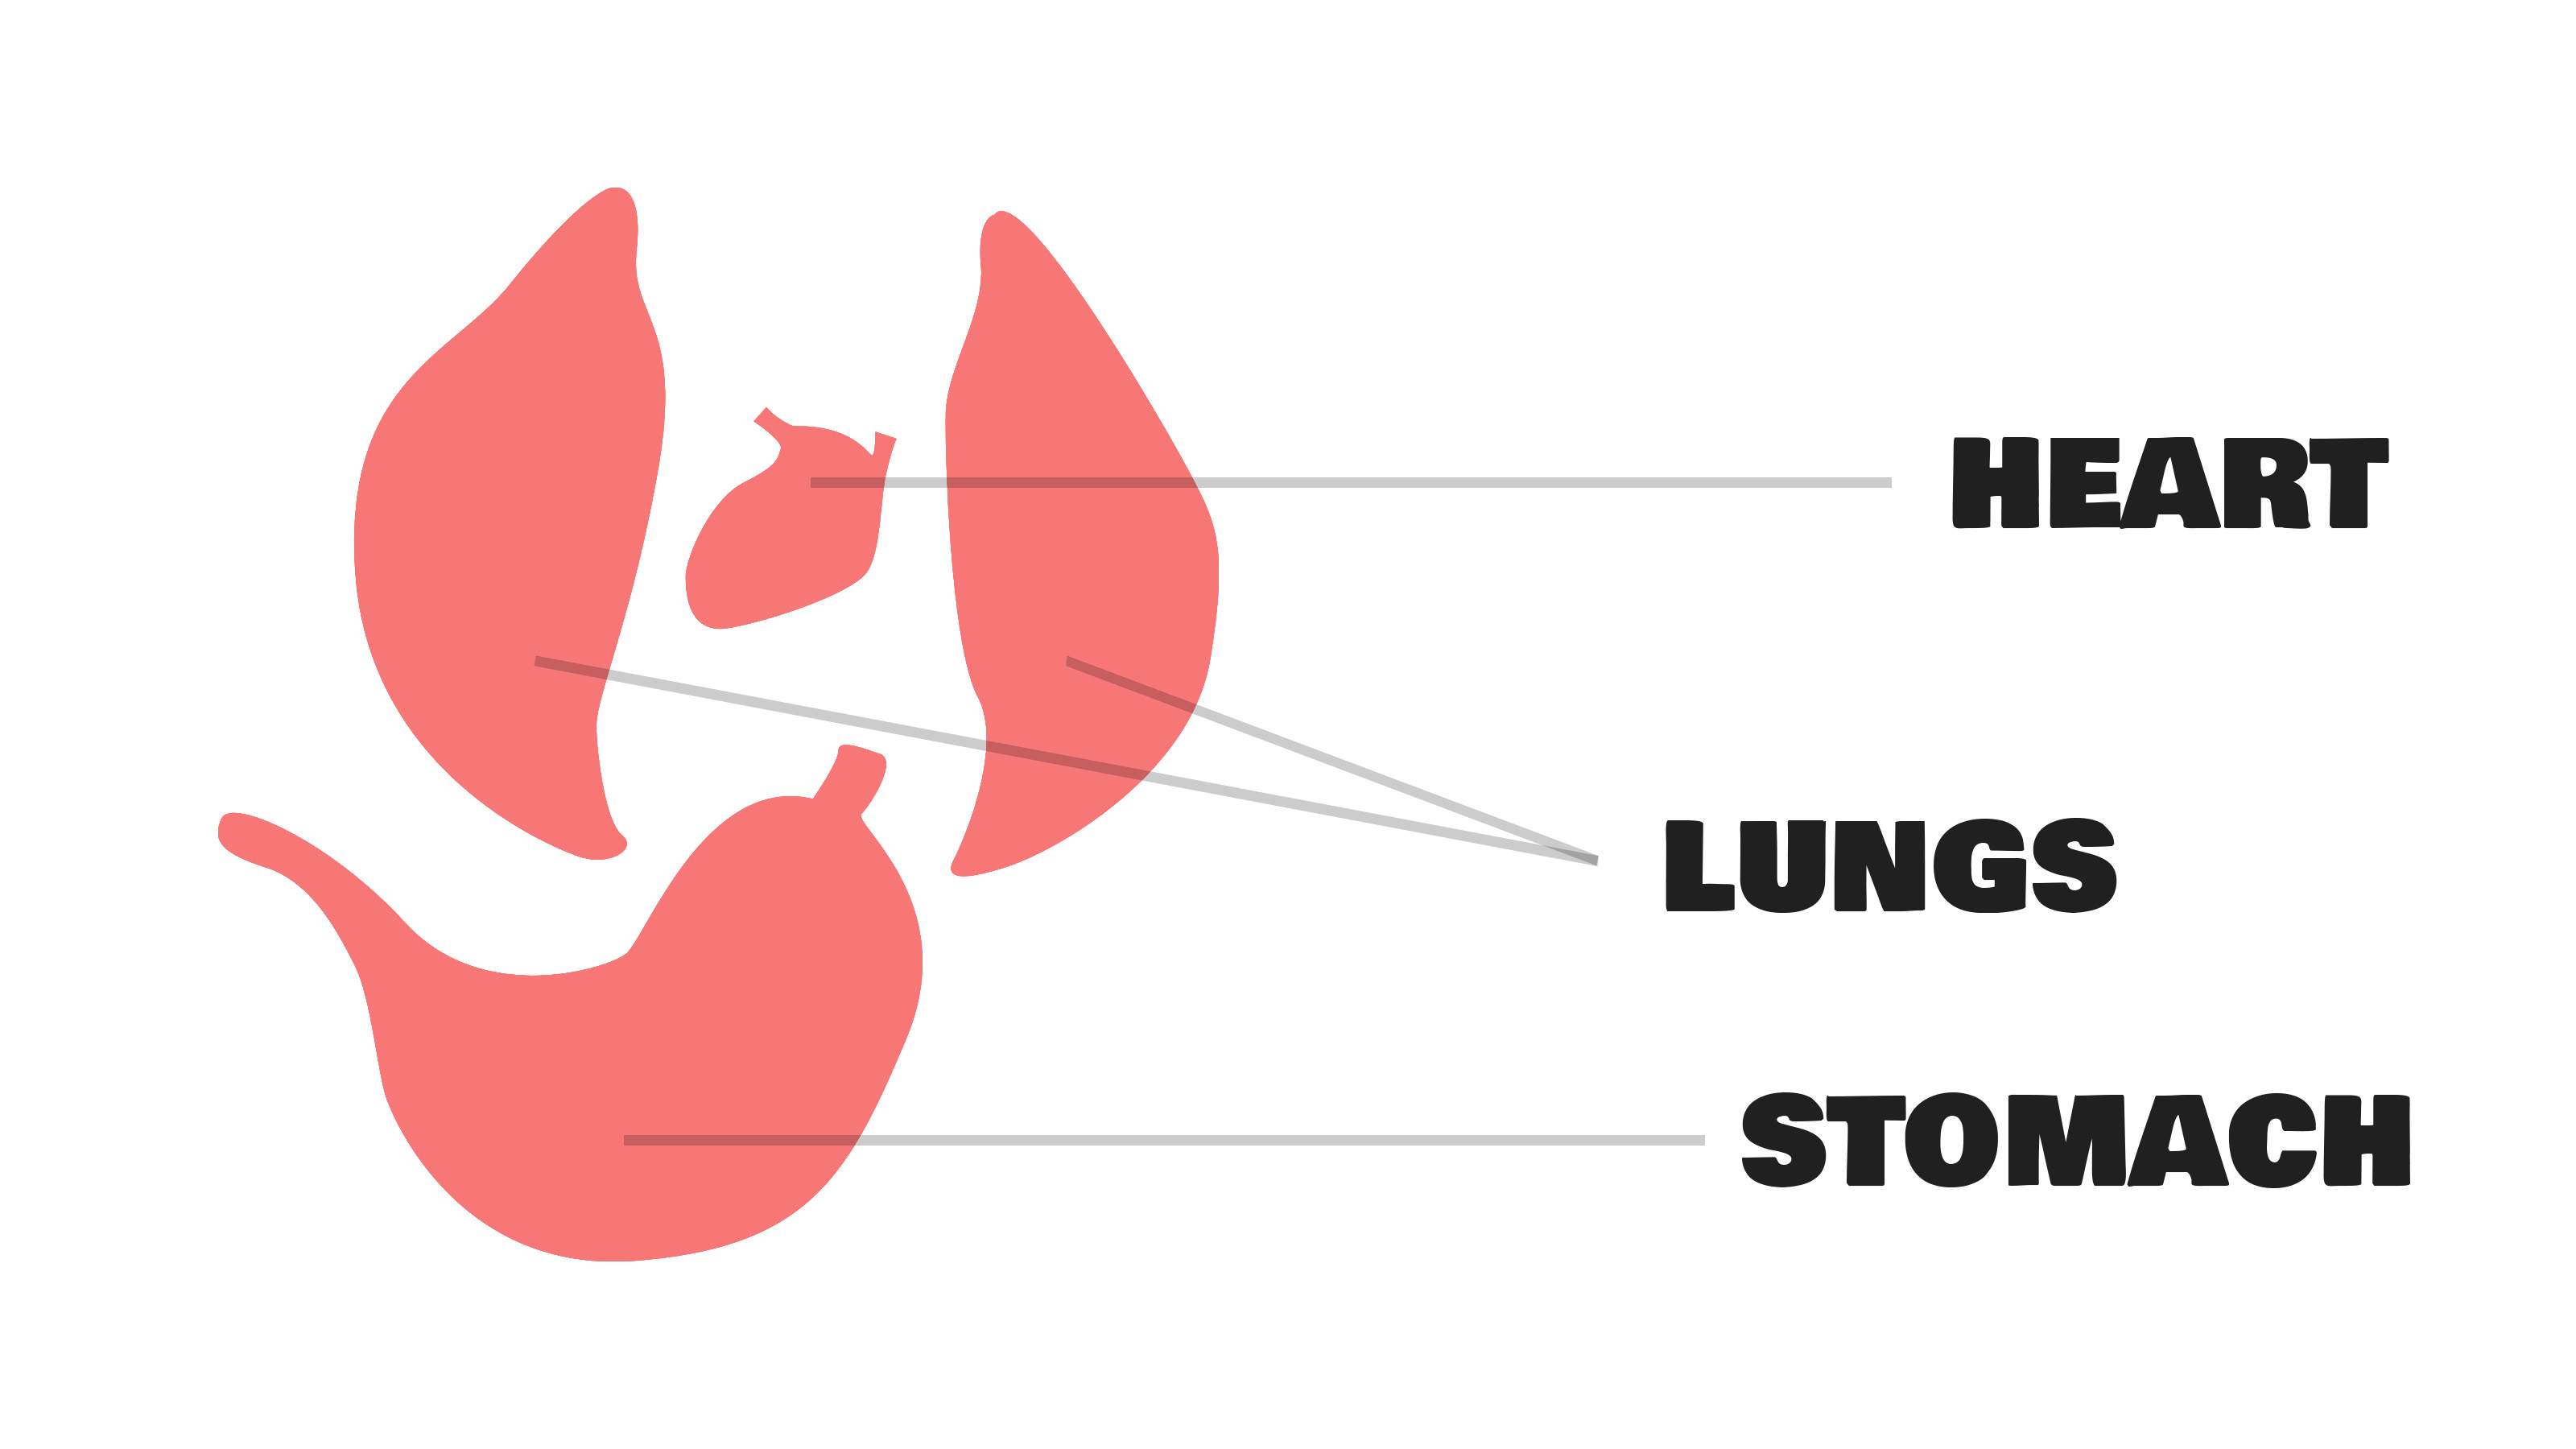
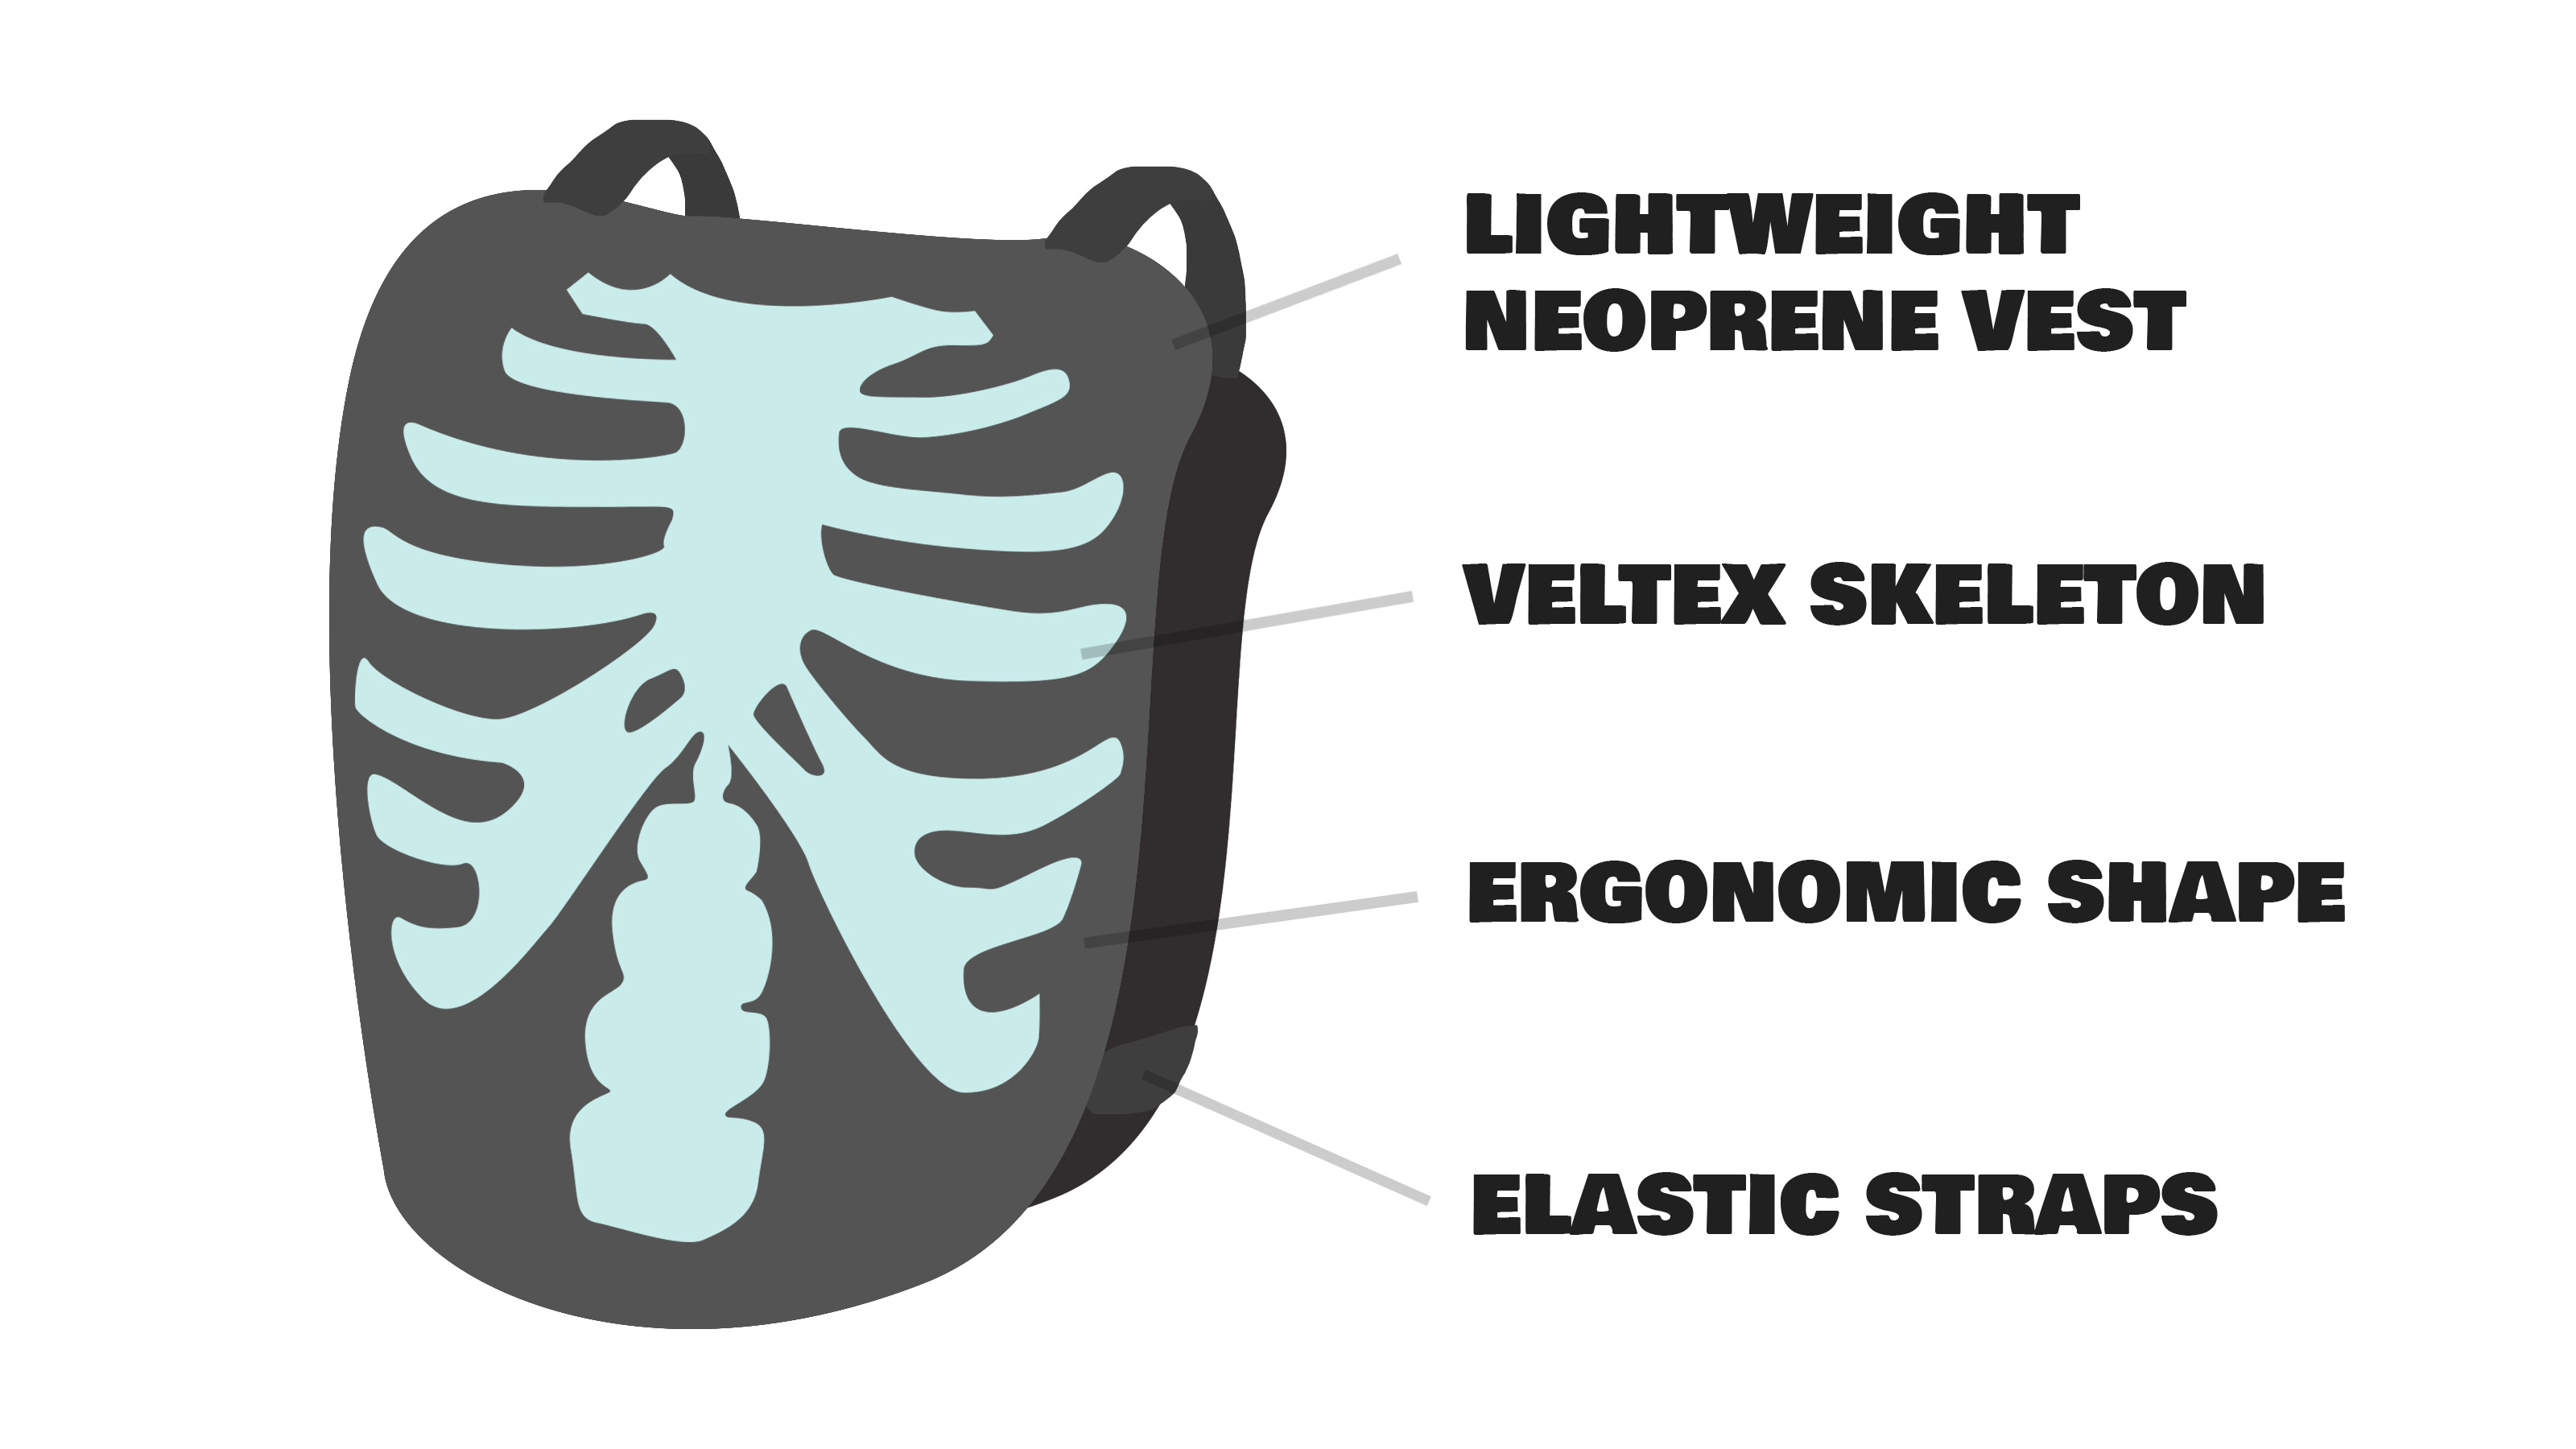
Illustrated diagrams of Infection's components.
Ideation
The first step in our design process was to think of as many toy design ideas as possible. As we learned, the key to successful brainstorming is to keep a continuous stream of ideas going. The 2.00B course staff kept us on our toes with numerous ideation challenges in class.
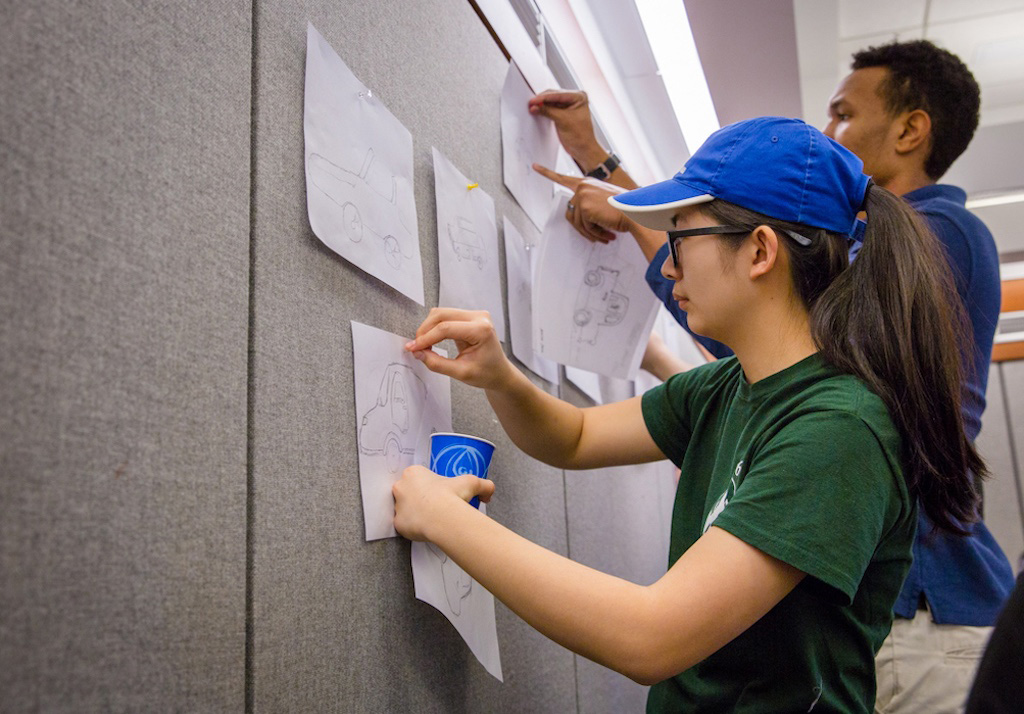
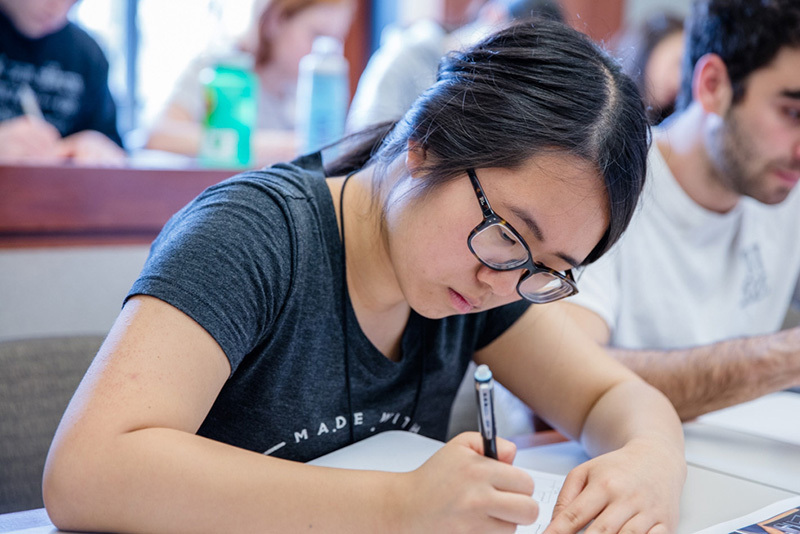
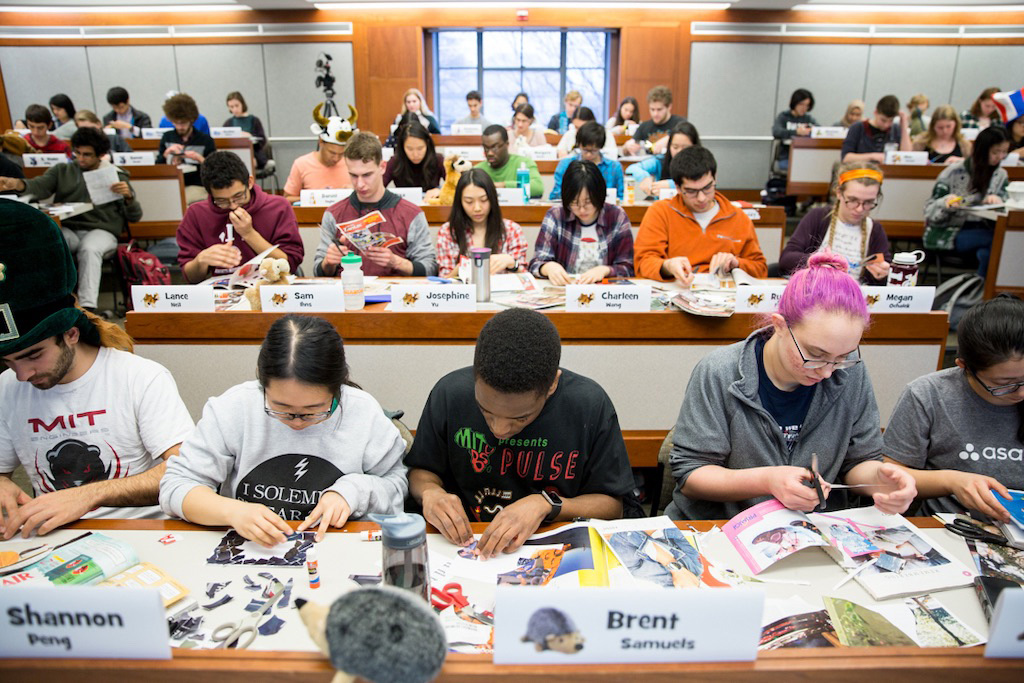
Ideation challenges in 2.00B lecture.
We documented each of our ideas with a one-page sketch. Here are two refined illustrations I made for a modular light-up train named "Light Rail" and a puzzle game titled "Impossible Structures."
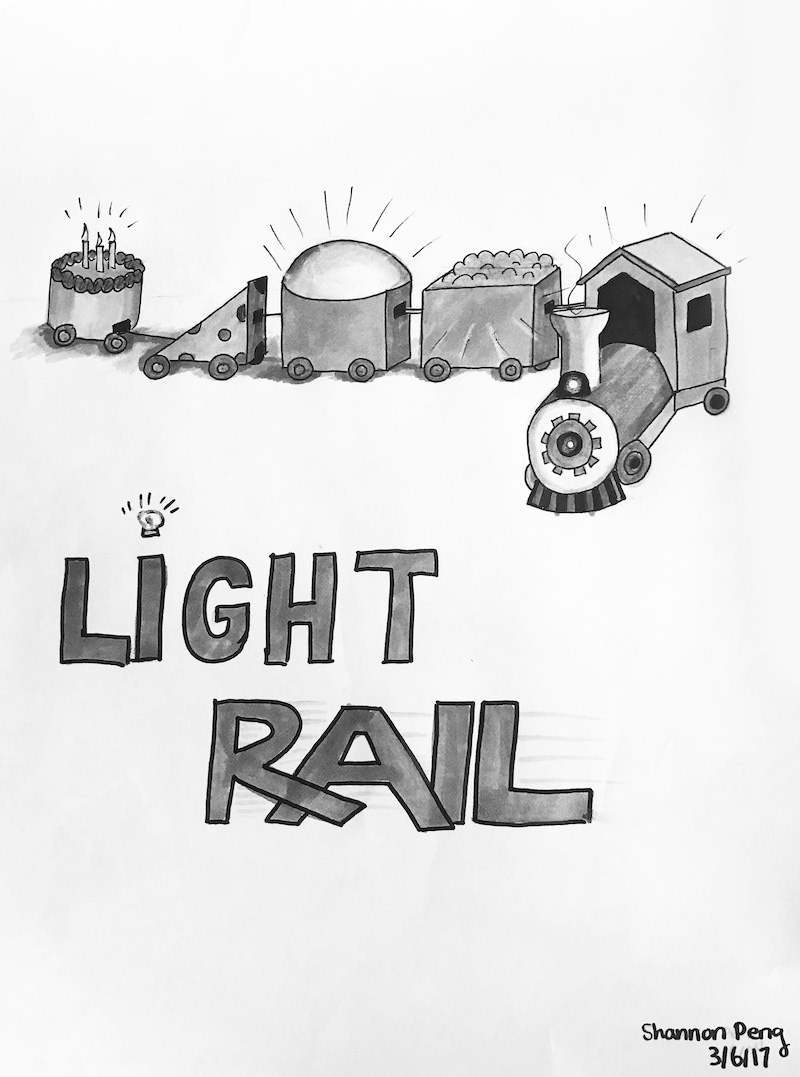
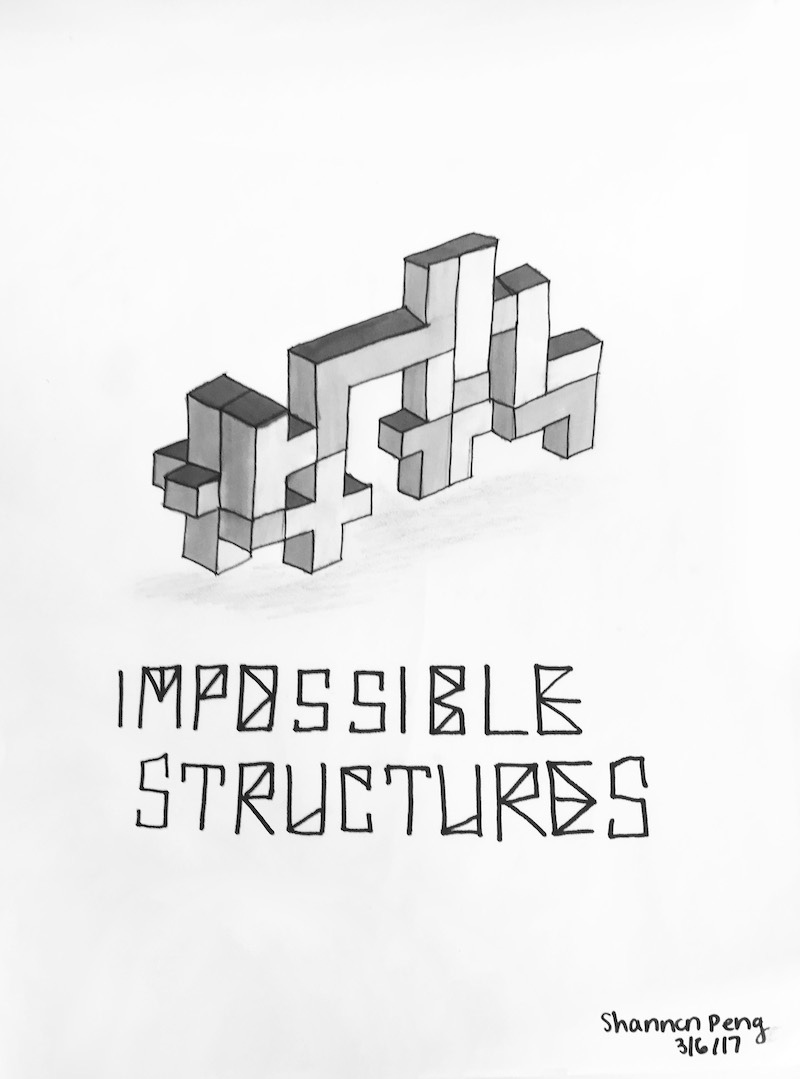
Initial concept sketches for toy designs.
In lab, we pitched our sketches to our teams, pinned them to a board, and then categorized and discussed them. Some factors we used to evaluate our ideas included:
- Novelty: How new and exciting is the toy idea?
- Replayability: How different is play each time? Will it still be exciting the nth time the toy is played with?
- Feasibility: Can we feasibly build a prototype of this toy within the span of a month?
- Safety: Potentially dangerous toys don't fare well with parents, who are the people deciding whether to purchase the toy for their kids.
Poster Pitches
We narrowed our team's initial sketches down to our top three ideas. Then, we created large, interactive posters to pitch them to the entire class.
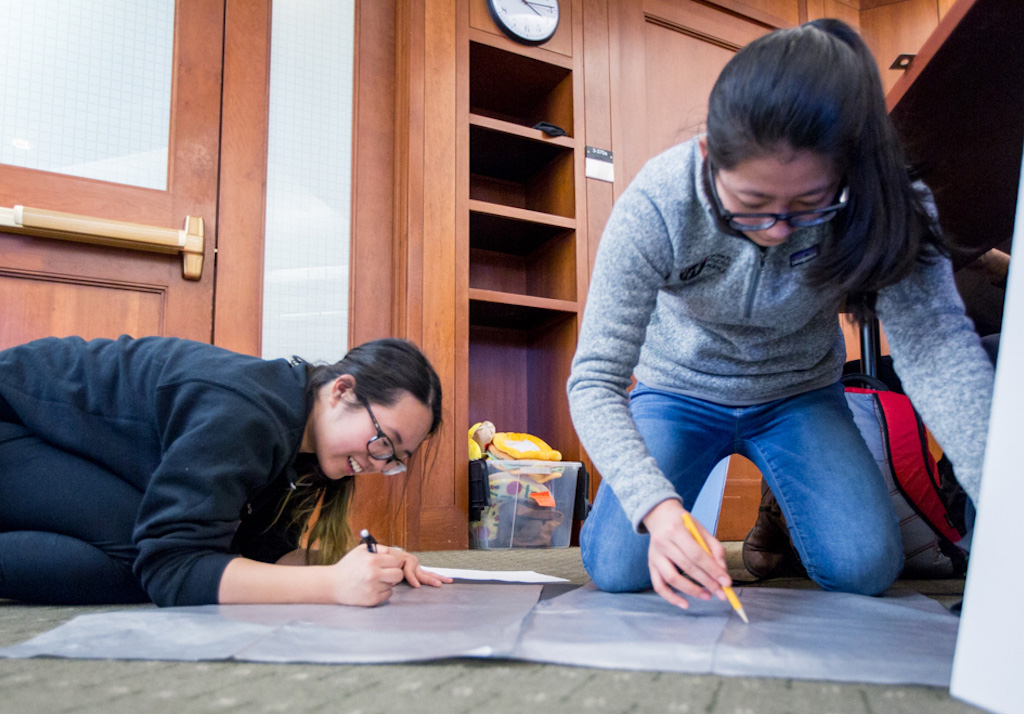
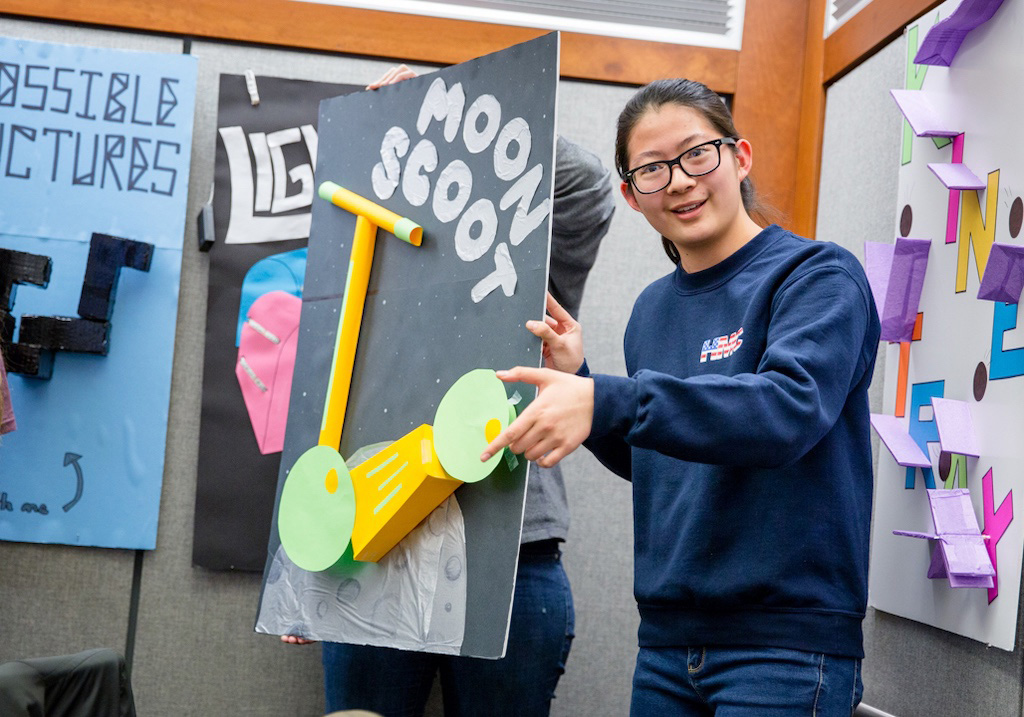
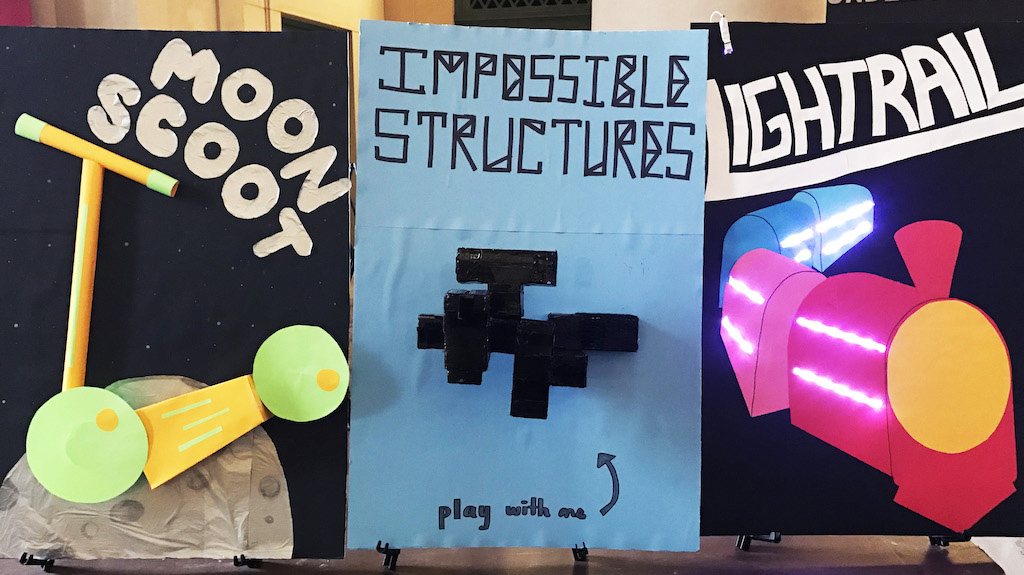
Crafting and presenting posters for our top three toy ideas.
Using feedback from both instructors and kids, we selected the two most promising ideas (Impossible Structures and Light Rail) to move into the next phase: sketch models.
Sketch Models
Building sketch models is a useful way to quickly test a product idea. For each of Impossible Structures and Light Rail, we created a looks like model to show how the toy would look to scale, and a plays like model to explore potential interactions.
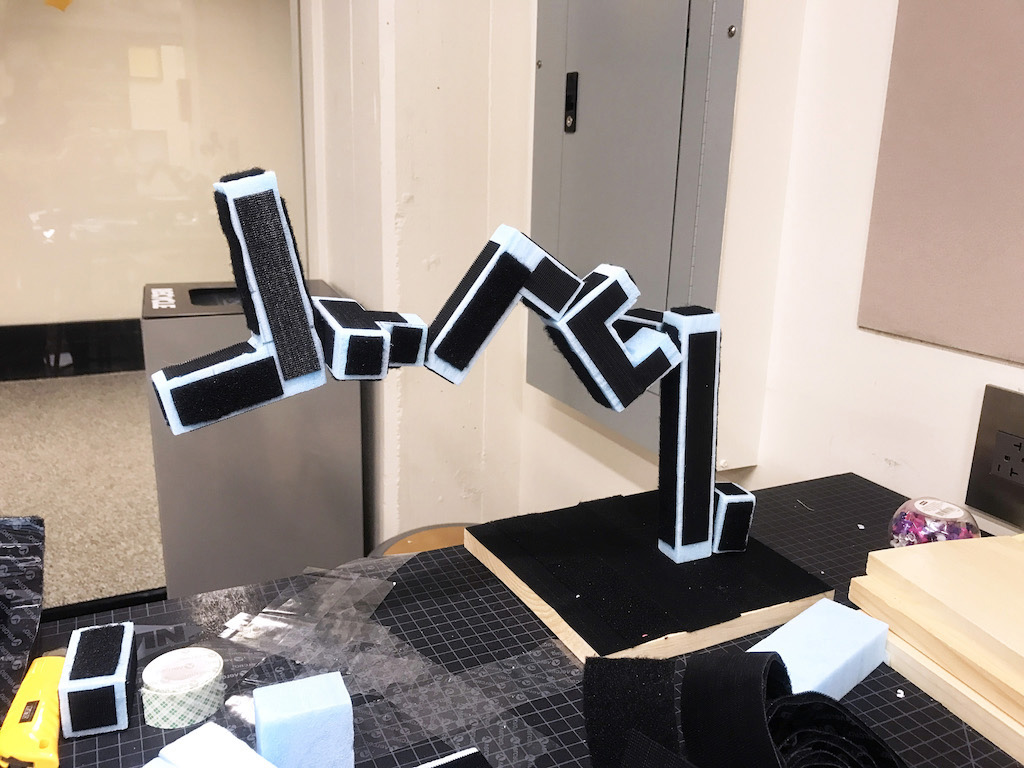
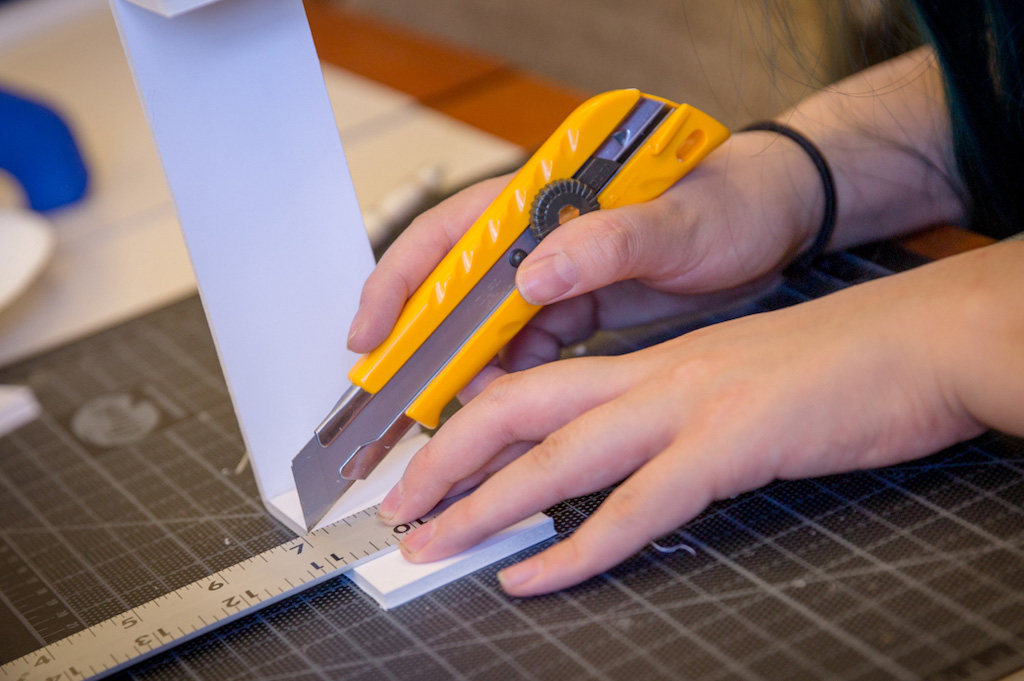
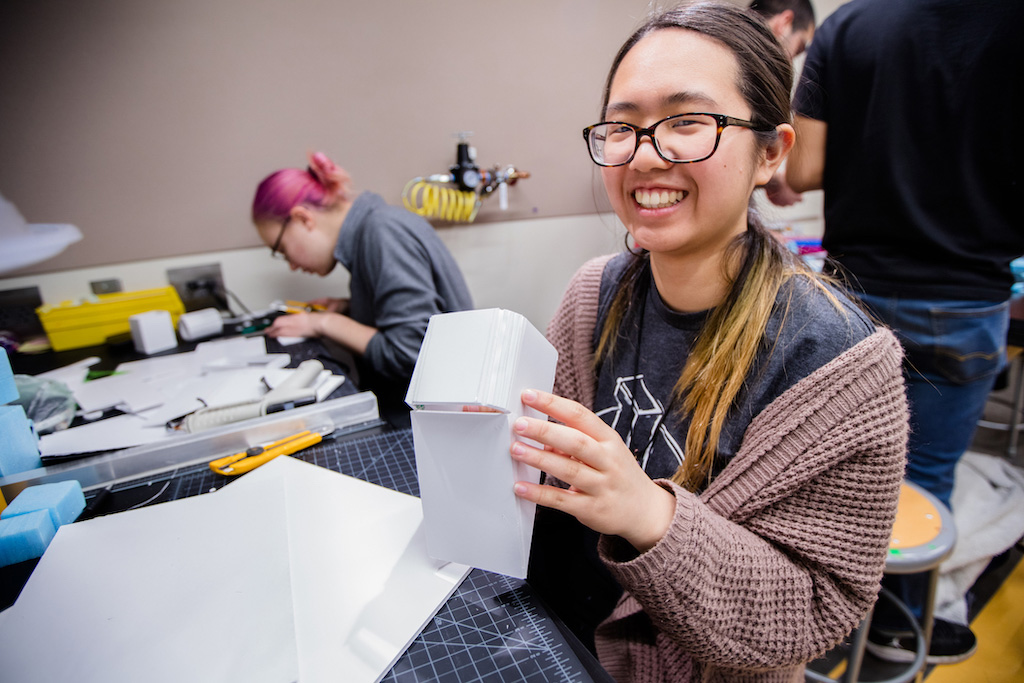
top: Impossible Structures, bottom: Light Rail
Impossible Structures
Plays Like: Impossible Structures enables kids to build seemingly gravity-defying sculptures. To achieve this effect, we cut large foam blocks using hot wire and covered them with strips of Velcro.
Looks Like: We envisioned the final toy to be constructed from wood, so our looks like model took the form of small wooden blocks with magnets embedded inside.
Light Rail
Plays Like: Light Rail is a modular train that lights up in different combinations depending on how its cars are connected. Our plays like model consisted of spray-painted foam blocks with LED strips on top.
Looks Like: Our looks like model took the form of foam board pieces cut and glued together to form a modern lightrail.
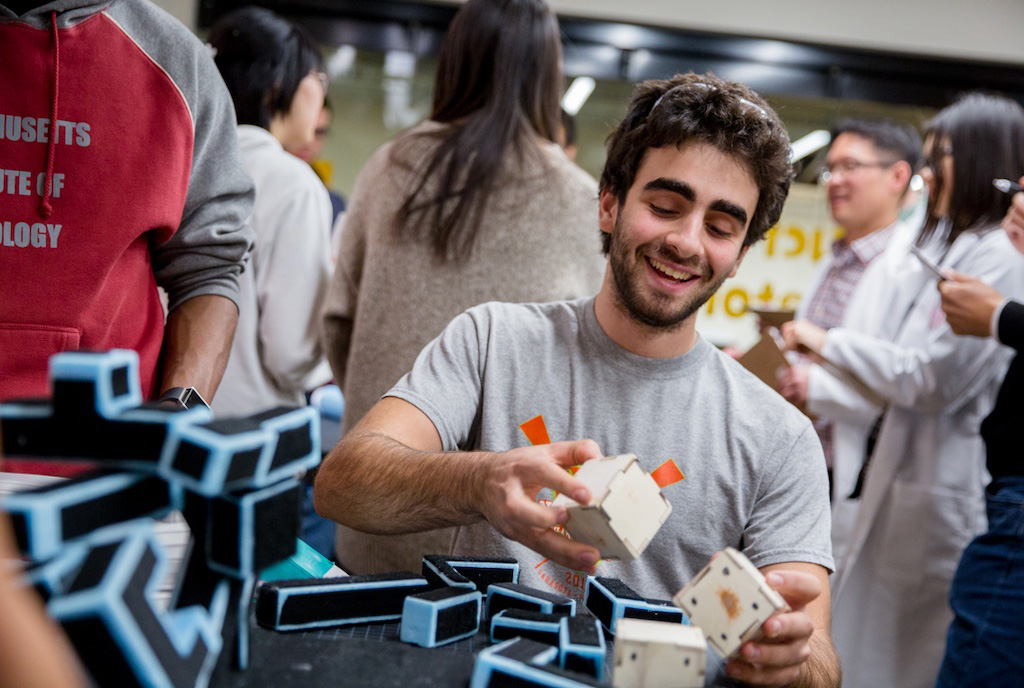
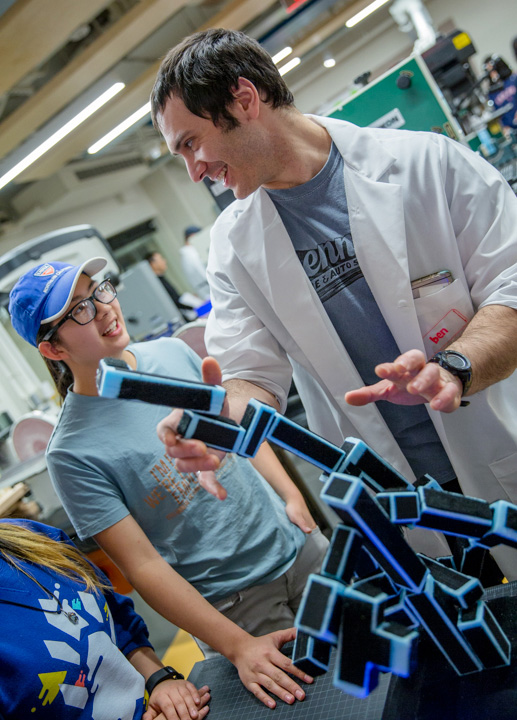
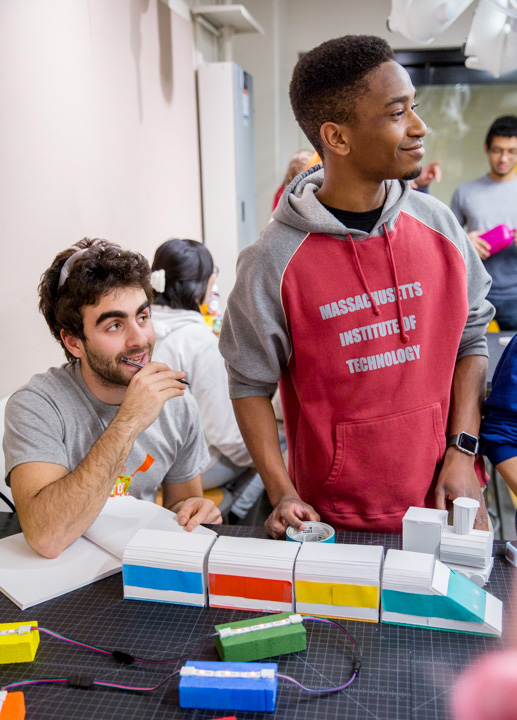
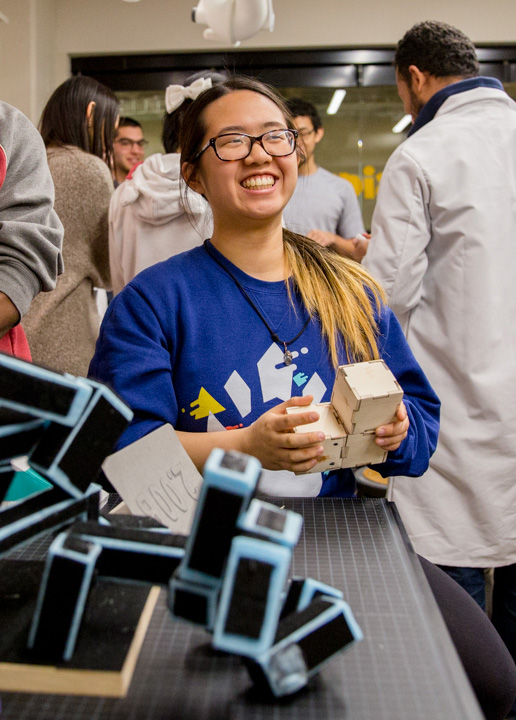
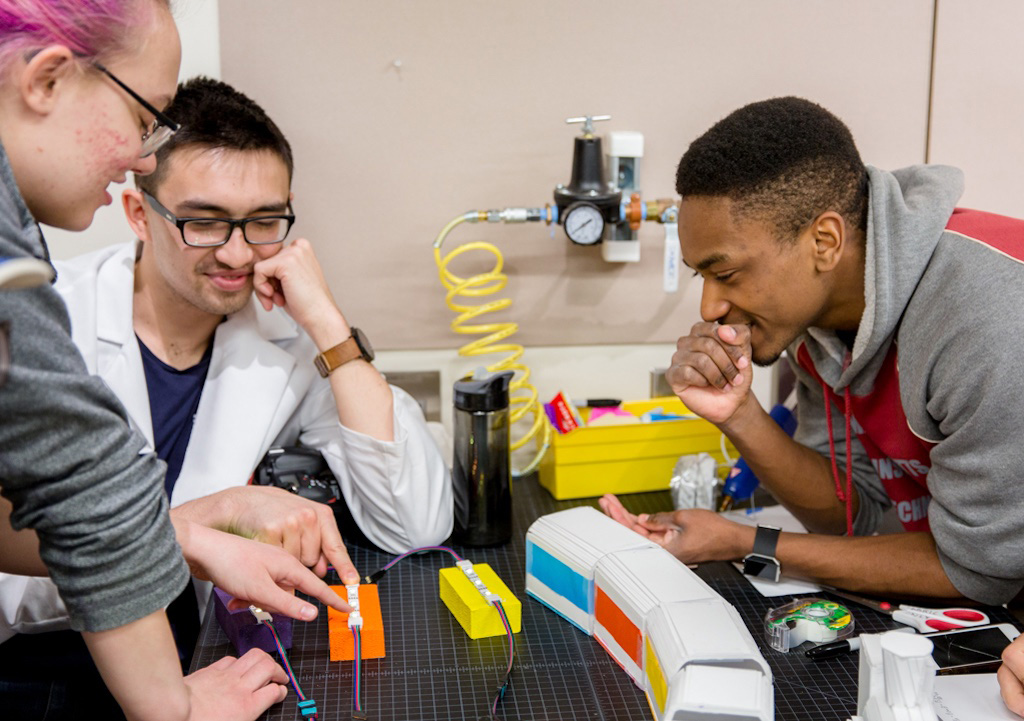
Getting feedback at the 2.00B Sketch Model Expo.
Some feedback we received from mentors and instructors included:
- Velcro vs. Magnets: There is a big difference between velcro and magnets. Magnets limit the possible ways we can connect the blocks, while Velcro grants us multiple degrees of freedom (it doesn't even require 90º angles). Velcro might be more fun for kids, because it allows for more freeform play. Also, what if we turned the entire structure upside down so it hangs like a bat?
- Trains Need...: Instructors were skeptical that kids would be entertained purely by colored LEDs and rearranging train cars. Also, if we're going to make a toy that resembles a train, they'd probably expect it to have wheels and/or be motorized, and make sound.
Playtesting
To get more feedback, we brought our sketch models to the MIT Museum, where we could playtest with our target audience: real kids.
The first thing we noticed was that kids immediately gravitated toward the Impossible Structures Velcro blocks. What's that weird looking sculpture? I wanna check that out.
The next thing we noticed took us by surprise: rather than piecing blocks together by hand, kids liked to stand back and throw blocks at the sculpture to add to it. They were amused by how the block would stick and stay where it hit the sculpture. We started a game in which kids took turns throwing blocks at the sculpture to see who would be the one to knock it down, and the kids loved it.
At the end of the day, we learned that kids really like throwing things. And many also liked throwing things at each other.
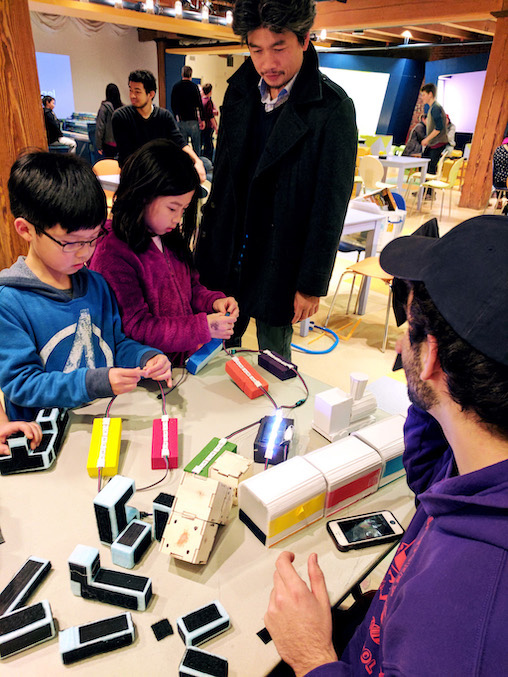
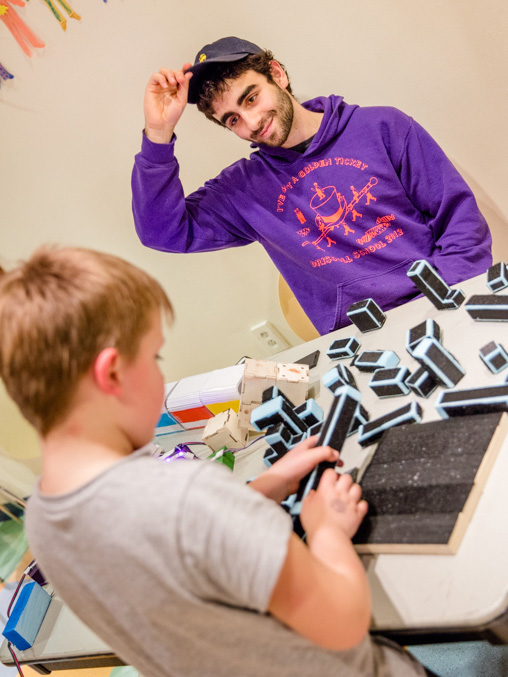
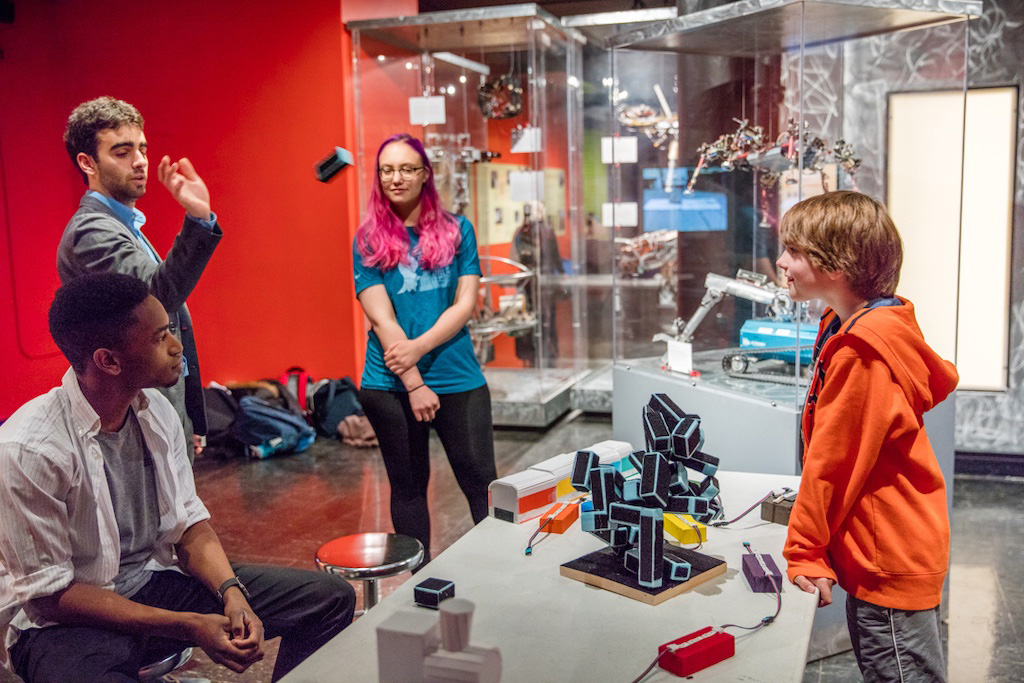
Playtesting our sketch models with real kids.
It seemed that Impossible Structures was winning, not for the appeal of building with blocks, but for throwing them. How could we take the Velcro blocks of Impossible Structures in a new direction?
It was then that the idea for Infection was born.
At the end of the day, we learned that kids really like throwing things. And many also liked throwing things at each other.
Prototyping
It was quite late into the semester to switch ideas, but our team had full faith in our new game and its appeal to kids. We dove into the next stage of the process: prototyping.
Organs and Antibodies: We traced organ and antibody shapes onto foam blocks, cut them on a hot wire, and sanded them. Later, we spray painted them and covered them in Velcro strips.
Bacteria: We ordered red Veltex online, cut bacteria shapes, inserted stuffing, and sewed the pieces together. We added parachute cord for the flagella.
Vests: We cut torso-sized pieces of neoprene and stitched on a ribcage pattern cut from Veltex.
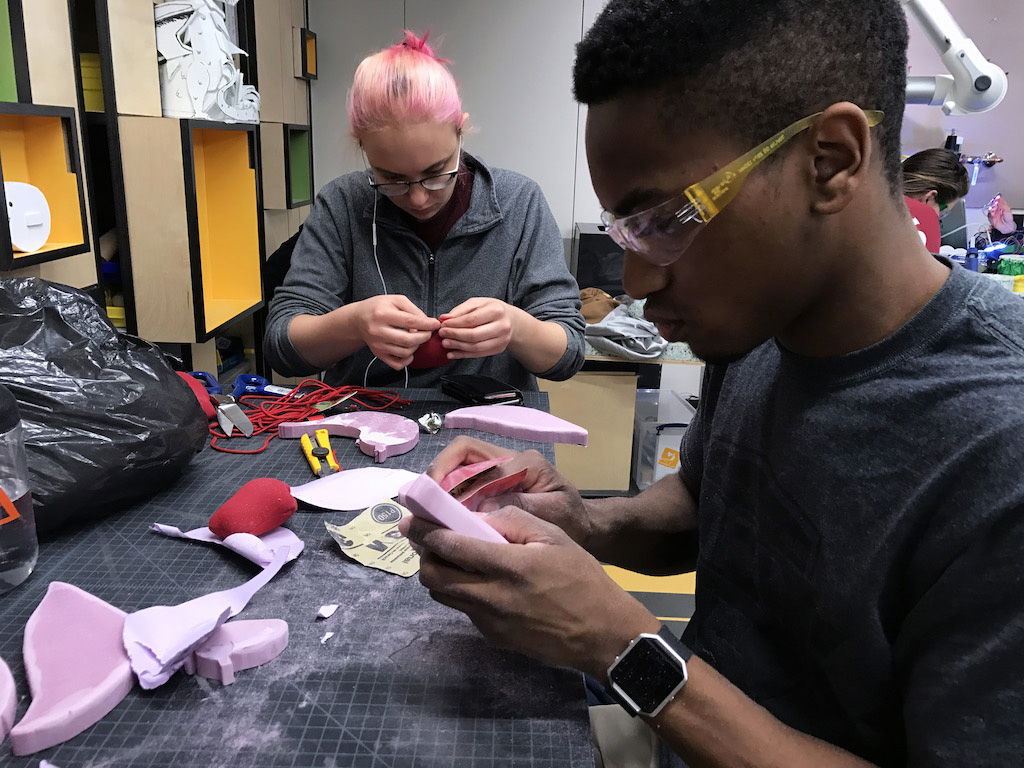
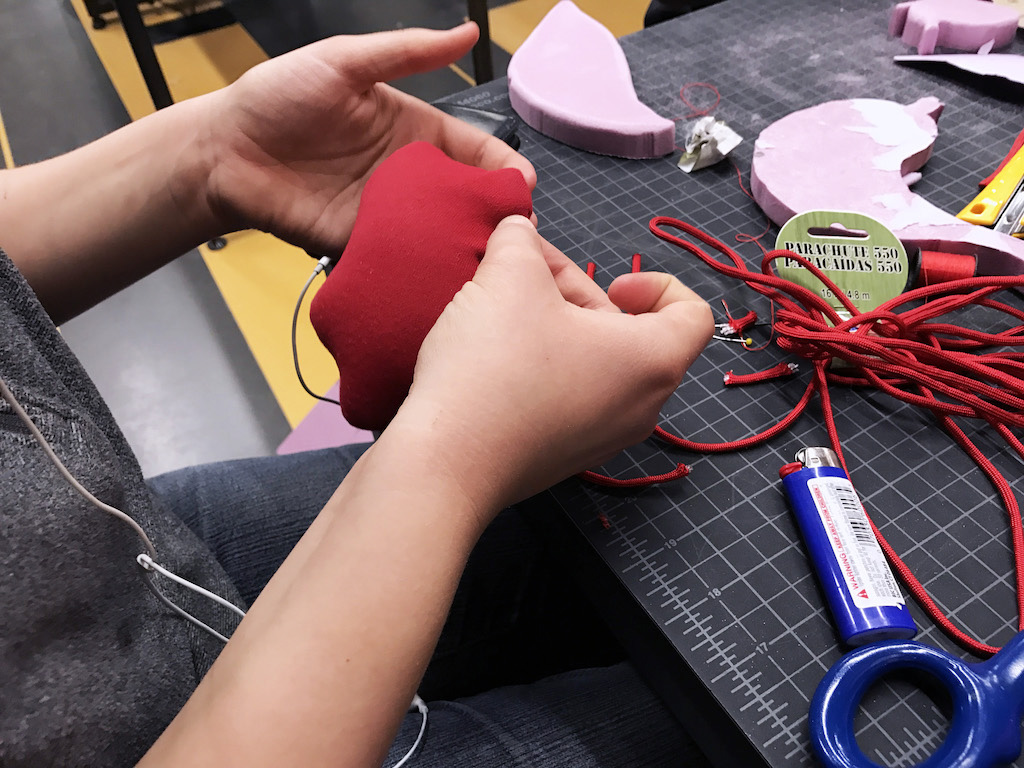
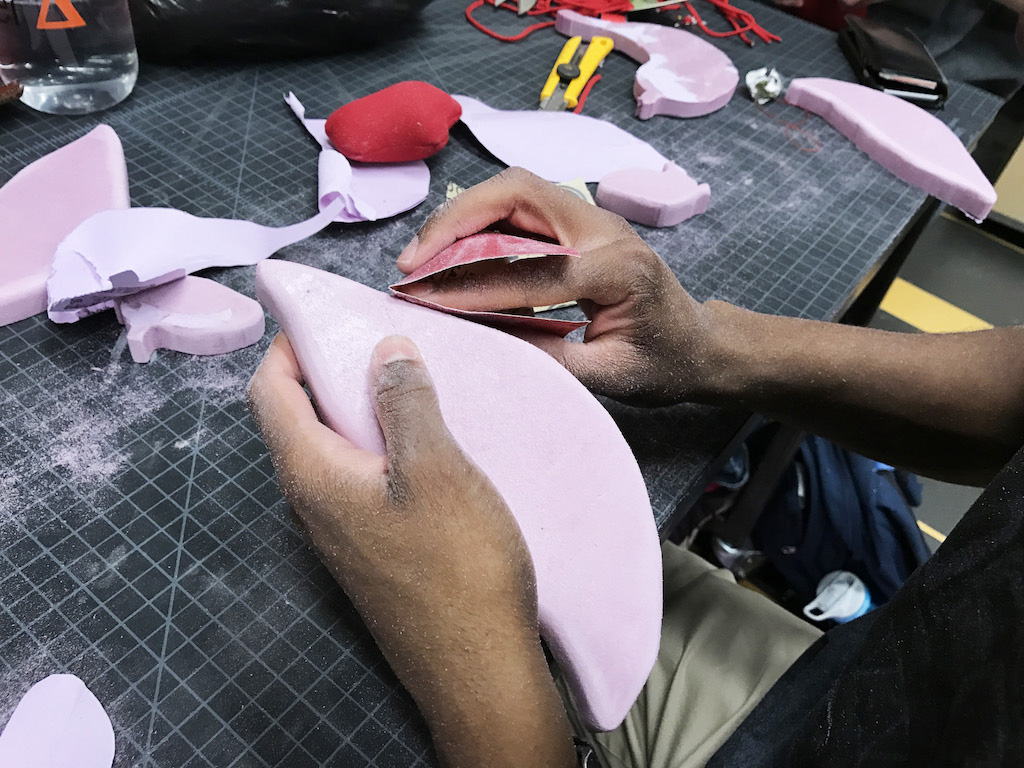
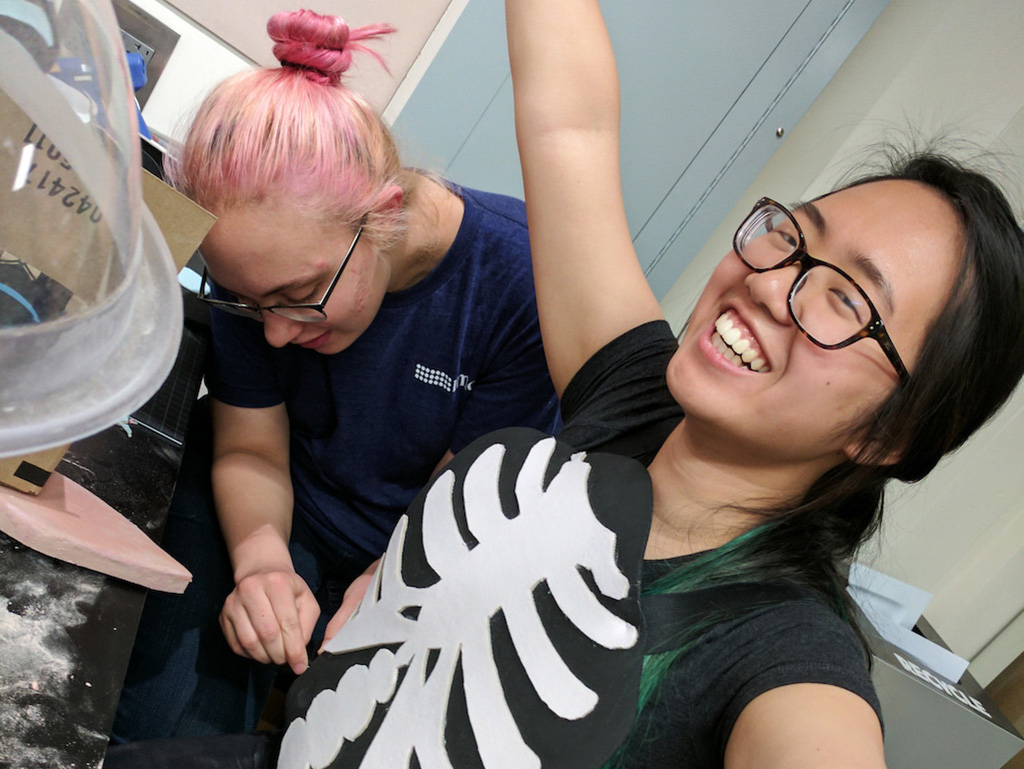
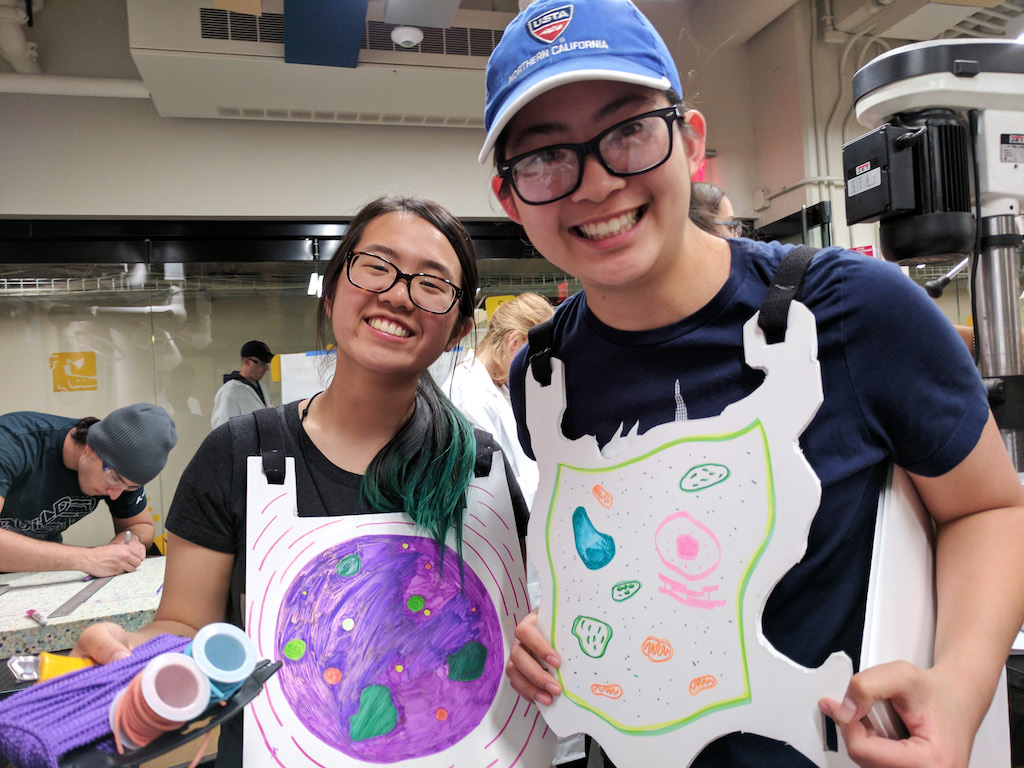
Building our final Infection prototypes.
We tested our new prototypes and came up with gameplay rules by playing multiple rounds of Infection outside of the lab. (Peak MIT homework.)
We adjusted the organs' attachment to the vests until they were attached tightly enough to not fall off accidentally while a player was running, and also loosely enough such that an incoming bacterium could cleanly knock the organ off. After some finishing touches, our final prototype was ready to playsent!
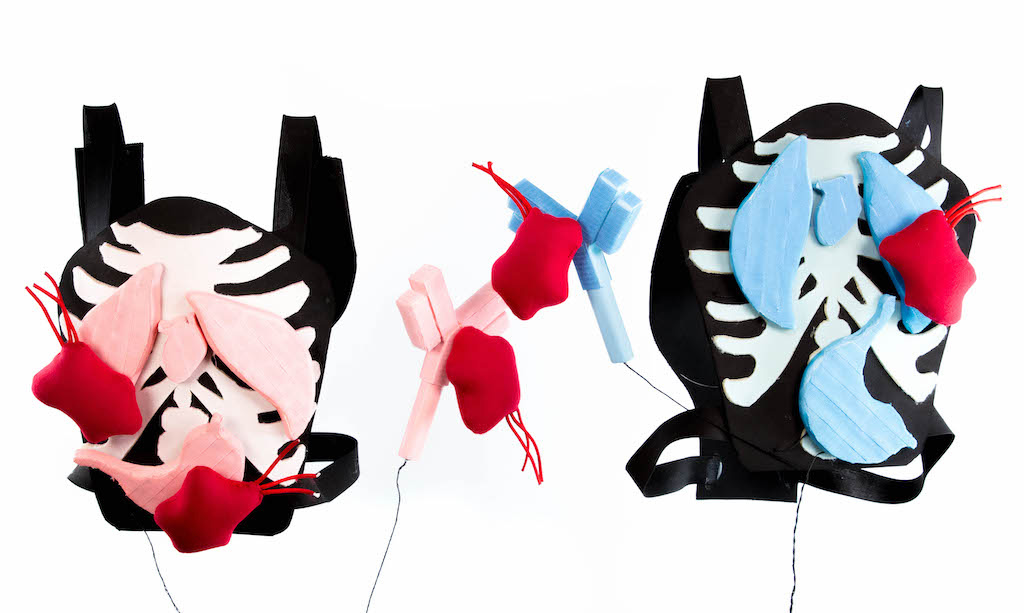
Our final Infection prototype.
What I Learned
2.00B was one of my favorite classes at MIT. I got my first look into the product design process, witnessed the value of playtesting first-hand, and gained experience with fabrication techniques, all while having lots of fun along the way. The class had a very playful and supportive environment, and it inspired me to learn more about product design.
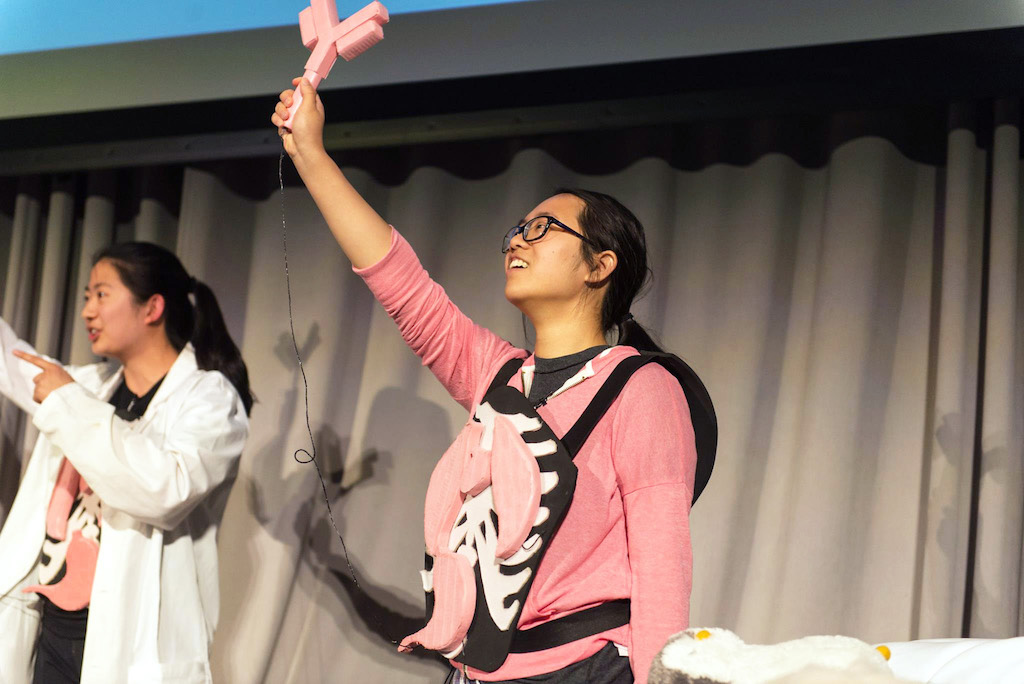
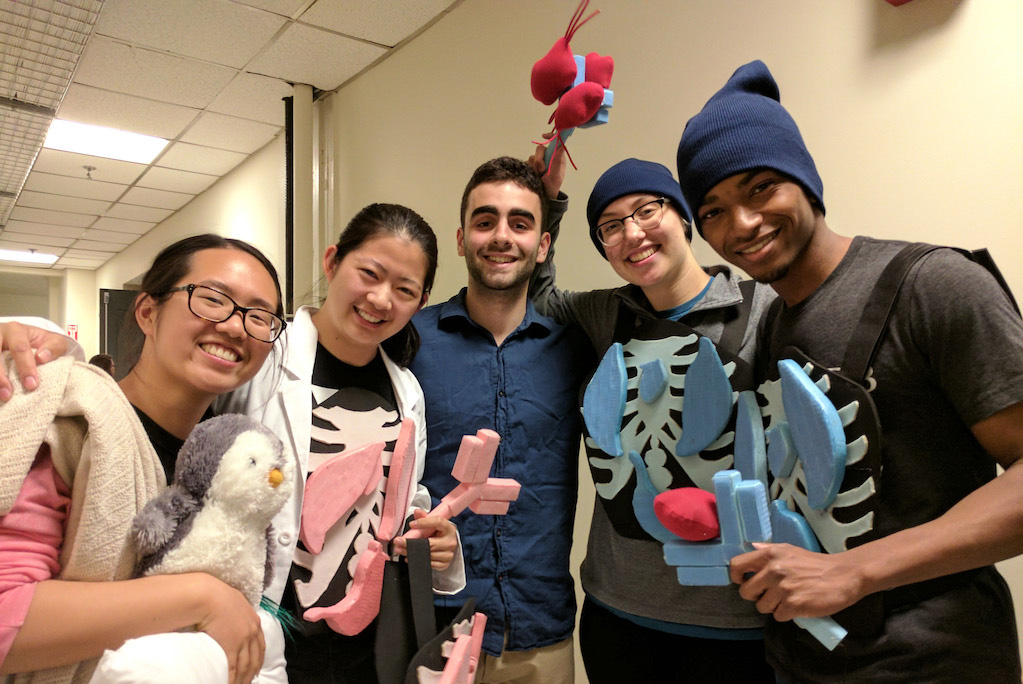
left: Final Playsentation skit, right: Backstage during Playsentations
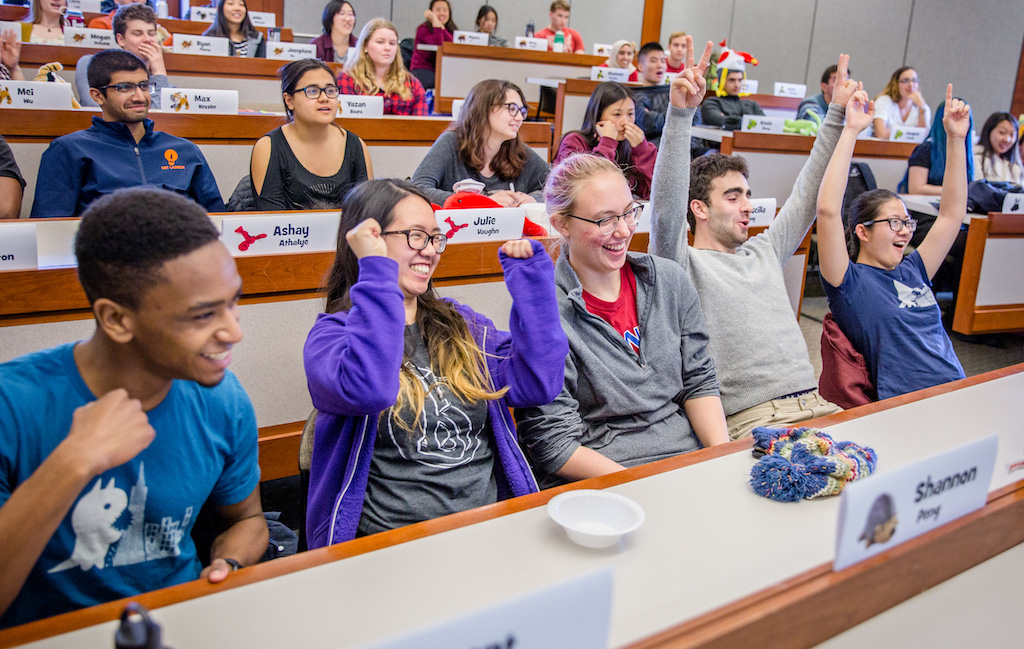
Team Hedgehog celebrates winning a class estimathon.
| collaborators | Brent Samuels, George Roudebush, Max Beeman, and Rebecca Chen |
| mentors | Benjamin Grey, Tony Hu |
| tags | Toy Product Design · Graphic Design · Playtesting · Prototyping · Fabrication |
| technologies | Photoshop · Illustrator |
| materials & tools | Velcro · Neoprene · Felt · Foam · Sewing · Hot Wire · Spray Paint |
| photo credit | 2.00B Staff, Lily Bailey, and Tony Hu |
| context | 2.00B Toy Product Design |
| completed | May 2017 |
